Parents all over the world are thinking of ways to keep their kids busy and entertained. Because going out or playing outside is not an option right now, the only way to prevent them from getting bored is by keeping them busy with something that can easily be done indoors. The best option right now is to involve them in arts and crafts.
Woodworking projects are a great option to keep your kid entertained at home. Not only does it let your kids explore their creativity, but the outcomes are also very productive. If your kid has never worked with wood before, this is the time to help them master a new skill. Continue reading to know some easy woodworking projects you can try at home with your kid.
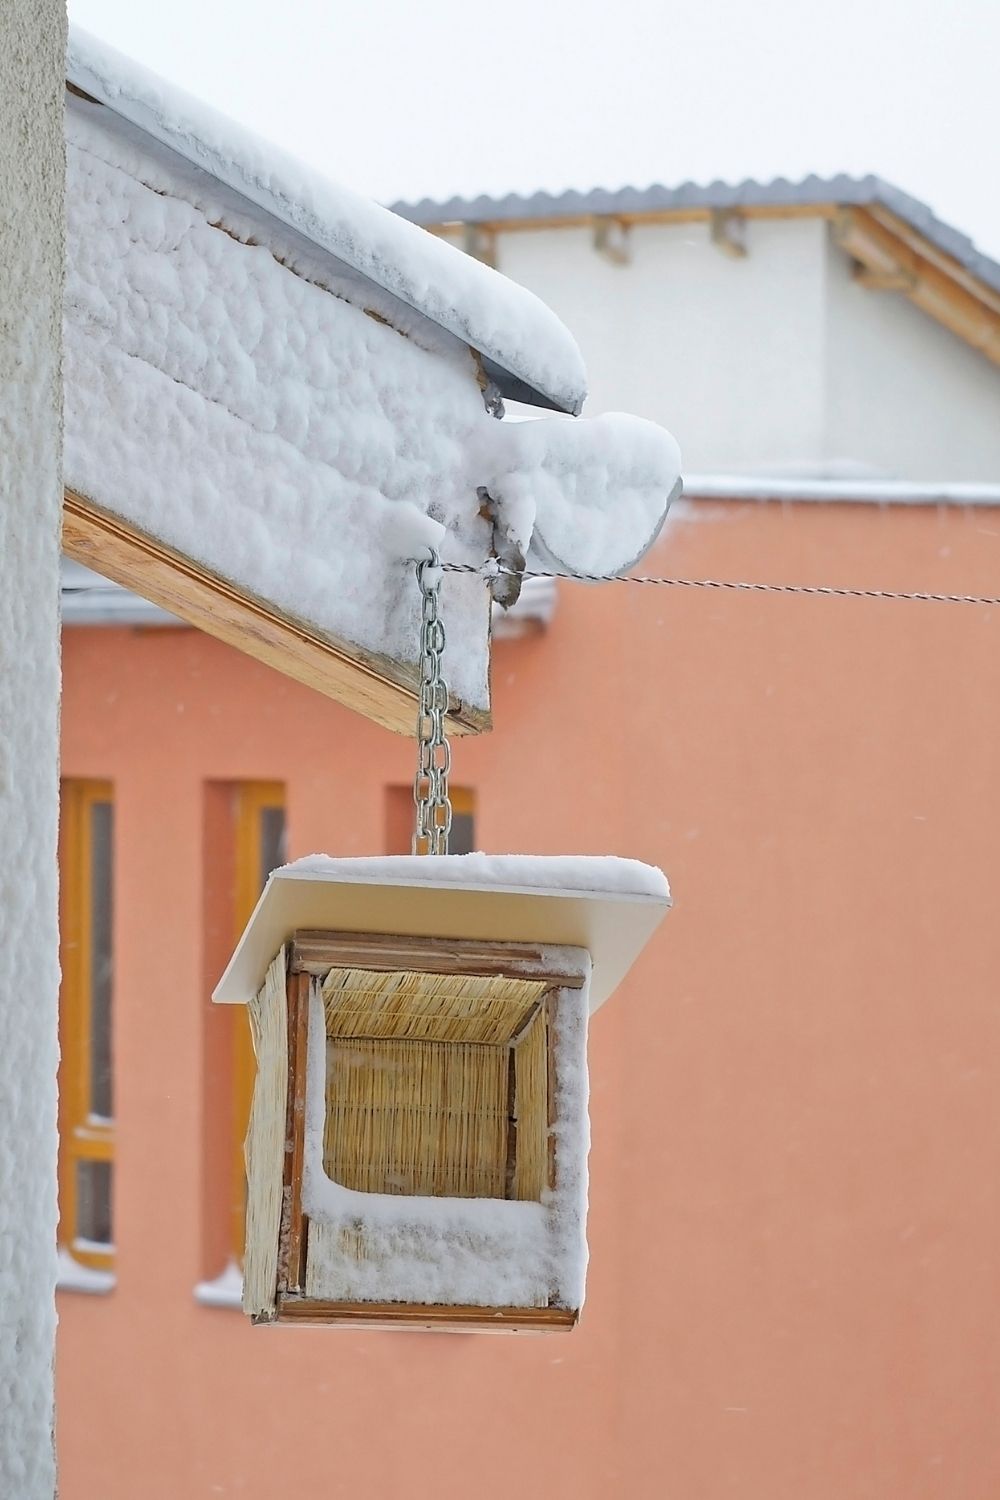
Bird feeder
Every kid will absolutely love this project. Bird feeders are something all kids make. So, making it with new material like wood will excite them. Making a wooden bird feeder doesn’t require that many materials. The things you will need are some wood boards (you can use scrap wood boards if you want), good quality adhesive, and paintbrushes and colors to decorate it.
First, take a wood board and make a hole in the middle to look like a window. Then make a tray-like structure and attach it to the lower part of your window. This is where you will keep the food. Then take two pieces of wood board in the same size and attach them on top of the window that you made earlier. This would look like the roof.
Let it dry for a while and then comes the fun part. You can decorate it however you like. Hand the paintbrushes to your kids and let the creativity flow. Let the paint dry. Hang the bird feeder somewhere high, so the squirrels don’t steal the food.
Toy Organizer
If you are tired of your kids not cleaning up their toys after playtime, then this project might be beneficial for you. With this project, you can make a mobile toy organizer box. With this box, your kids can keep all their toys organized. They can even move the box very easily throughout the house, no matter how full it is.
To make a wooden organizer box, you’ll need some wooden crates, screws, four casters, and paint and paintbrushes for decorating. First, you need to paint your crates. You can paint them as you like. You can use your child’s favorite color or something that will suit your children’s playroom.
After the paint dries, you’ll need to add the casters to the bottom of the crate. Try using a cordless screwdriver to attach the casters. It will make doing it all by hand very easy. Make sure to attach a rope on one of the sides so kids can easily drag it anywhere they want. You can read the detailed process to make these for better results.
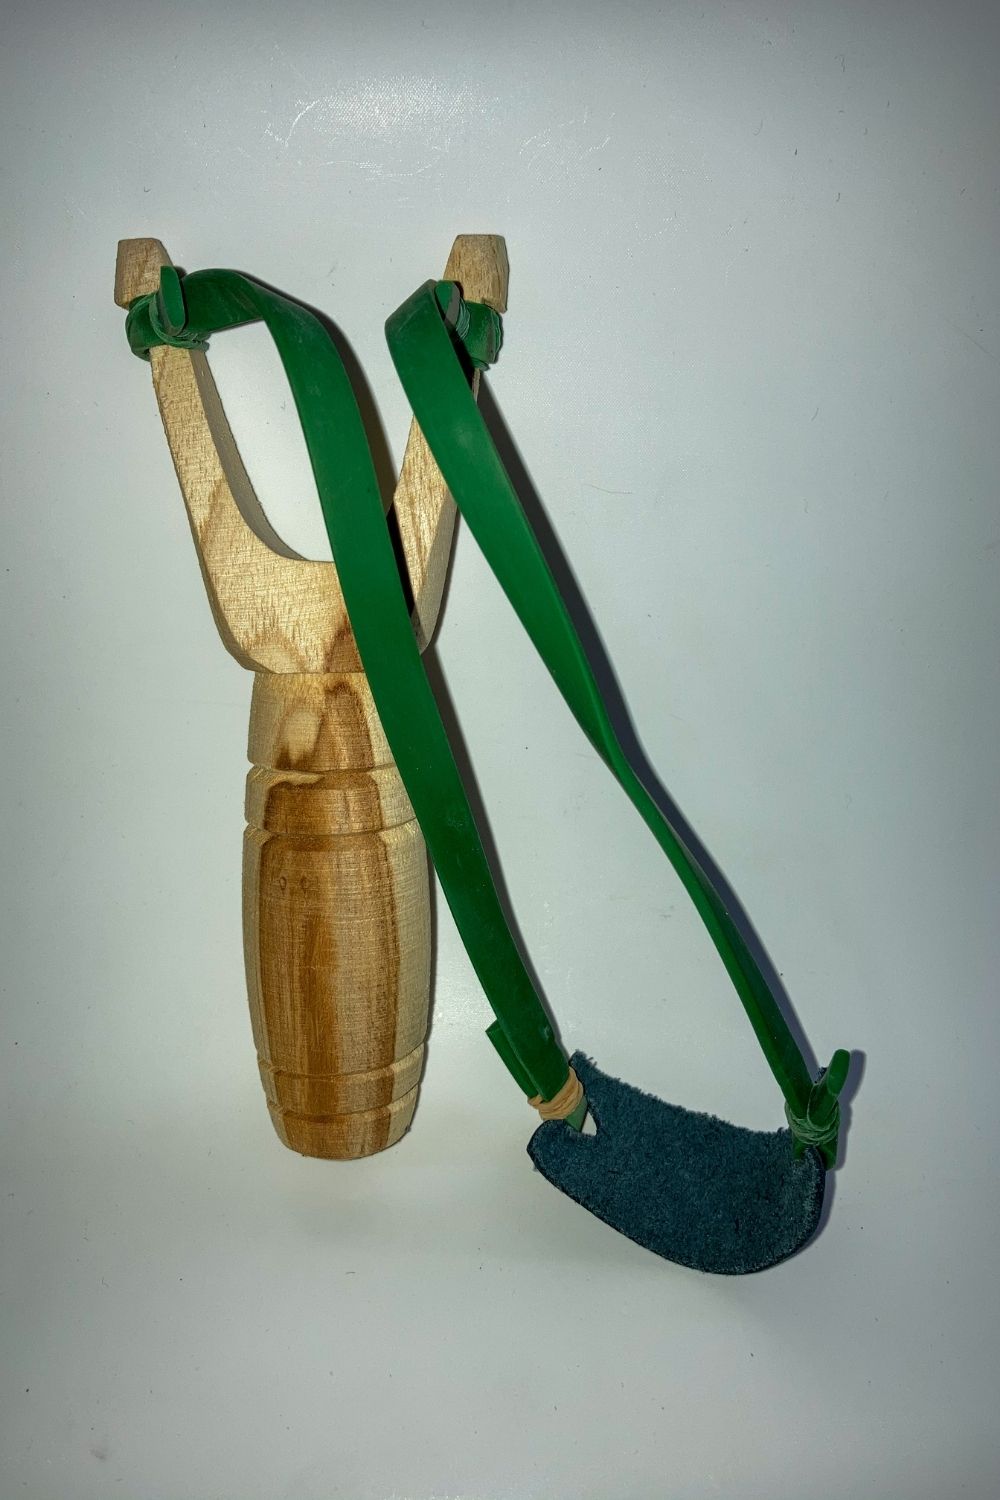
Catapult
There is no better project than making a toy. This project is probably the easiest and the quickest to make. But the results are impressive. If you are an 80’s kid, you will know that playing with a catapult is an experience that can never be gained using modern toys. With this project, you can teach your child how to make one and also train them to use it.
To make a catapult, you’ll need some wooden dowels, large rubber bands, some plastic cups, punch machines, sixers, and everything you want to launch with the catapult. Take six dowels and make a pyramid with them. Secure the dowels with rubber bands. Three dowels need to be on the bottom like a triangle, and the other three need to be horizontal, each standing from the corners of the bottom triangle. Next, punch their holes to your plastic cup and tie rubber bands. The other side of the rubber band needs to be attached to the pyramid, two on the bottom triangle and one on the top joining point, and you are ready to go.
Lego Coat rack
Just like the toy organizer, this project is fun to make, and the end result is very useful. Making a coat rack may not excite your children, but a Lego-themed coat rack will surely excite them. The things you’ll need to make the coat rack are wood boards, good quality wood glue, and some hooks to hang clothes.
The process is just like the one used to make any other coat rack. You need to cut a piece of wood in the size you want the rack to be. Sand it well to make it very smooth. Then you’ll need some small circles cut out of wood. All the circles need to be of the same size. Then stick the circles to the wood board you sawed earlier. Attach them to look like the connectors of the Lego pieces. To make it look natural, attach different numbers of circles to each area.
After you attach the circles with glue, let it dry completely. Then comes the fun part. Mark the block in a way that it looks like multiple pieces of blocks are attached together. Then use bright colors like red, yellow, green, and blue to paint the rack. After you are done painting, let it dry. Then attach the hooks, and it is ready to use.
You can hang it anywhere you like. No matter where you hang it, it will surely bring a pop of color to your walls.
To Sum Up
Being stuck at home is pretty boring. Especially if you have kids, each day might feel like forever because they are always up to something, and keeping an eye on them might be very tough. They are not at fault here because sitting idle is not something they can handle. In this situation, the best thing to do is to get them involved in arts and crafts.
These projects will ensure they keep learning new things and are always entertained.

